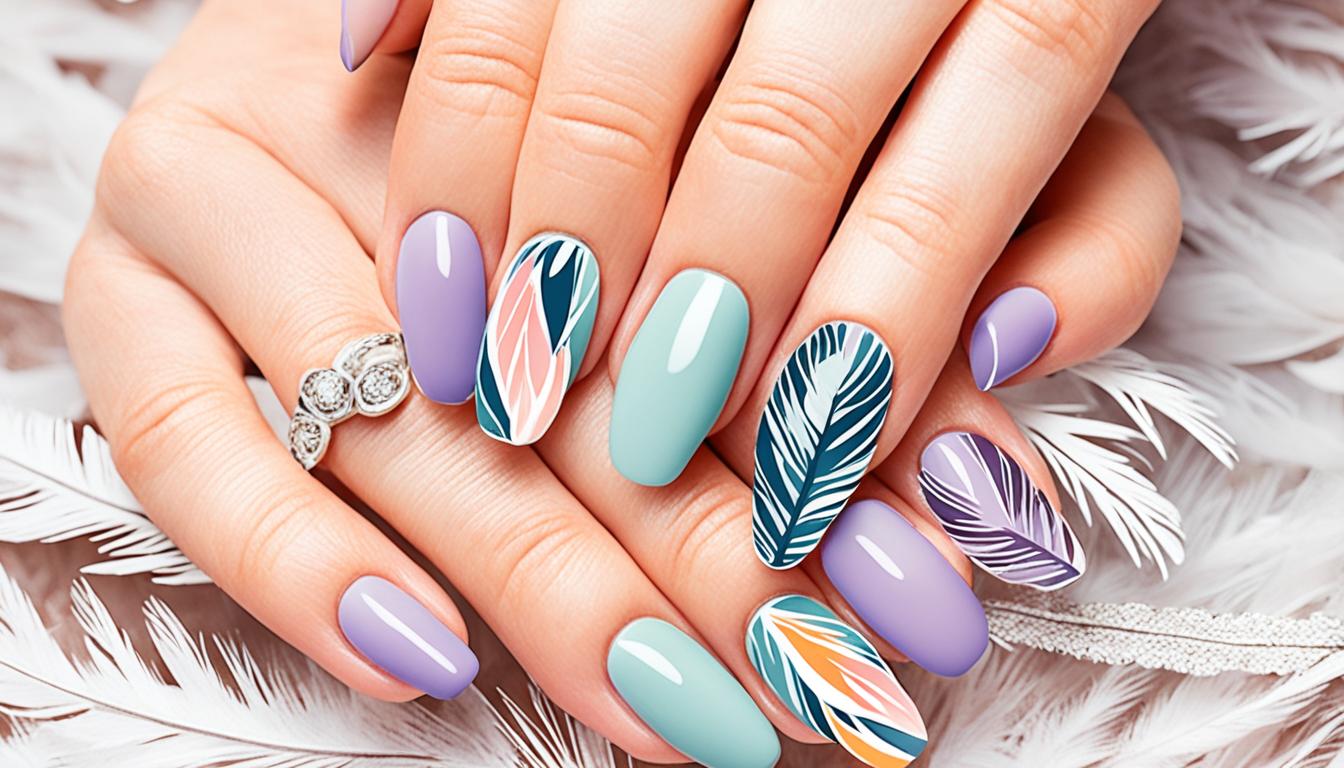
Welcome to the captivating world of nail art! If you’ve ever wondered what nail art is and how you can join in on the fun, you’ve come to the right place. Nail art allows you to express your creativity through stunning designs and techniques. In this blog post, we will explore the art of nail art – from the basics to more advanced techniques. Whether you’re a beginner or a seasoned nail artist, this guide will equip you with the knowledge and inspiration you need to create beautiful nail art designs. So, let’s dive in and discover the wonders of nail art!
What Is Nail Art?
Before we delve into the various aspects of nail art, let’s start with the basics. Nail art is a form of self-expression that involves decorating and embellishing the nails using various materials, tools, and techniques. It allows you to transform your nails into tiny canvases, where you can showcase your creativity and personality.
Nail art can range from simple designs using polish and stickers to intricate 3D creations with gems, beads, and acrylic powder. It encompasses a wide range of styles, colors, and patterns, making it suitable for any occasion or personal preference. The possibilities are endless, and the only limit is your imagination!
Getting Started with Nail Art:
Now that we have a basic understanding of nail art, let’s explore how you can get started on your nail art journey. Here are three key steps to help you dive into the world of nail art:
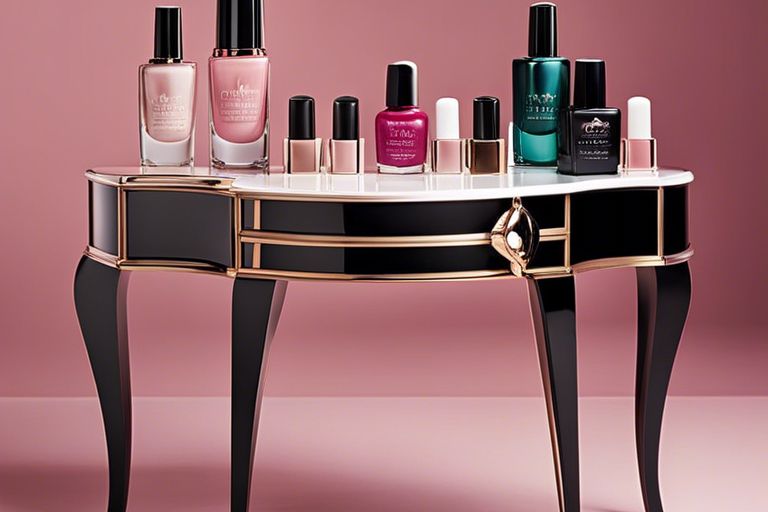
1. Choosing the Right Nail Art Tools:
To create beautiful nail art designs, you’ll need some essential tools. Here are a few must-haves for any aspiring nail artist:
- Nail polish in various colors
- Nail art brushes
- Dotting tools
- Nail stamping kit
- Nail art tape
- Nail art gems and beads
Having these tools at your disposal will give you the foundation you need to explore different techniques and create stunning designs.
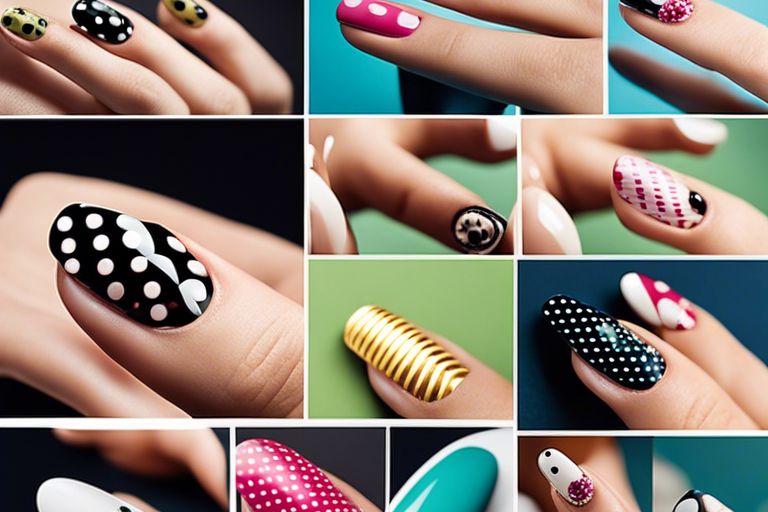
2. Understanding Different Nail Art Techniques:
Nail art encompasses a wide range of techniques, each resulting in unique and eye-catching designs. Some popular nail art techniques include:
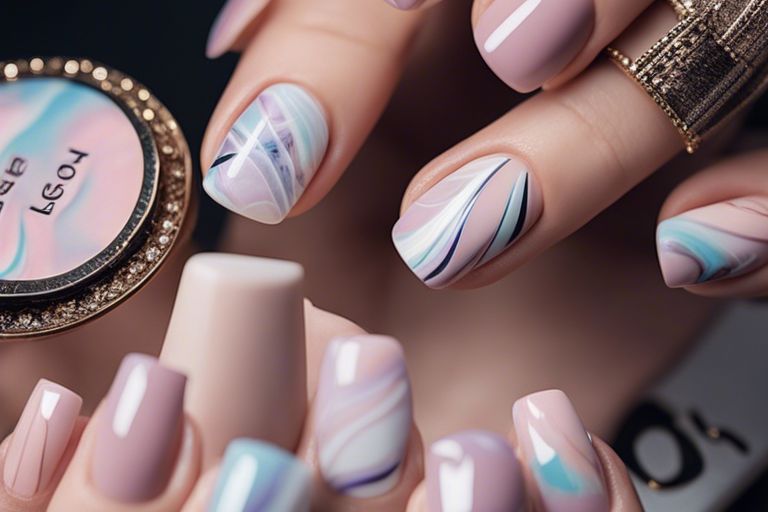
- Watermarbling: Creating beautiful patterns using nail polish and water
- Stamping: Transferring intricate designs onto the nails using special stamping plates and nail polish
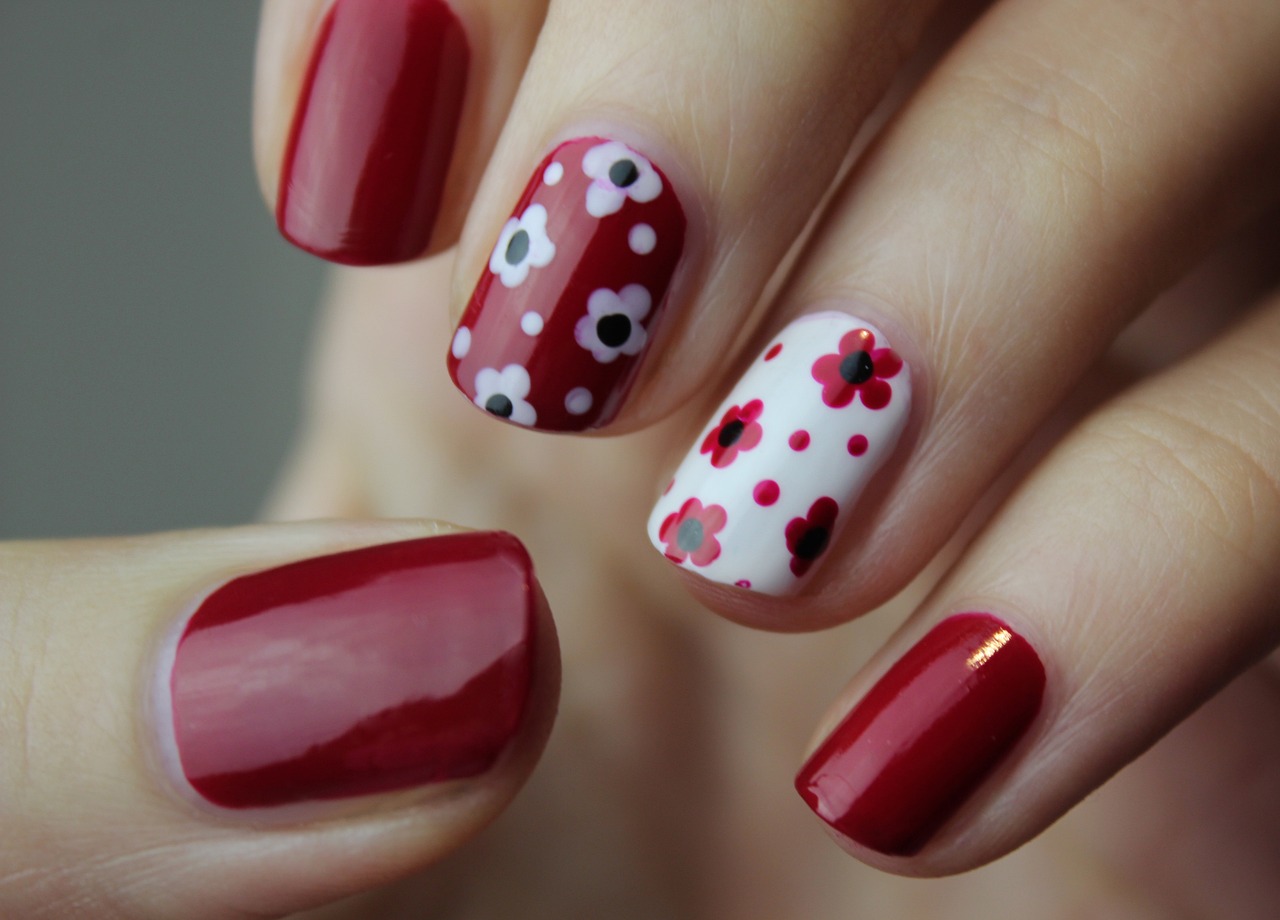
- Freehand painting: Using nail art brushes to freehand intricate designs directly on the nails
- Decals and stickers: Applying pre-designed stickers or decals onto the nails for quick and easy nail art
By familiarizing yourself with different techniques, you can experiment and find the ones that resonate with your personal style.
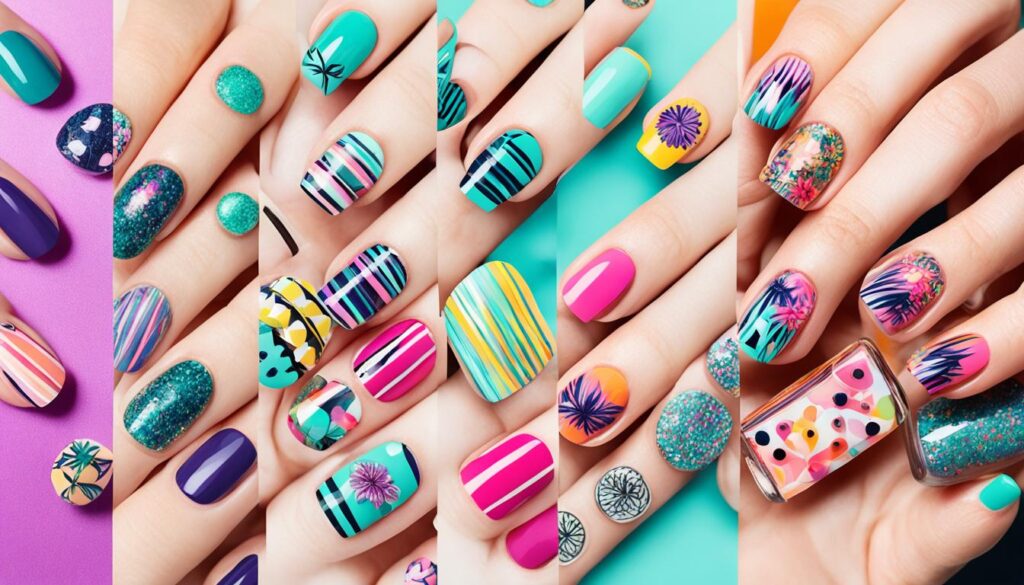
3. Exploring Nail Art Designs:
Once you’ve gathered your tools and familiarized yourself with different techniques, it’s time to explore nail art designs. You can draw inspiration from various sources such as:
- Online nail art communities and social media platforms
- Nail art magazines and books
- Fashion and design trends
- Nature and everyday objects
Remember to let your creativity flow and put your unique twist on each design you create. Nail art is all about expressing yourself and embracing your individuality.
What is Nail Art? Exploring 3D Nail Art:
One exciting aspect of nail art is the three-dimensional designs that can be achieved. 3D nail art adds depth and texture to your nails, making them truly stand out. In this section, we will take a closer look at 3D nail art.
What Is 3D Nail Art?
3D nail art involves creating raised designs on the nails using various materials such as acrylic powder, gel, and nail art decorations. These designs can range from simple floral patterns to intricate sculptures. 3D nail art allows you to take your creativity to the next level and create truly unique nail designs.
Step-by-Step Guide to Creating 3D Nail Art:
To give you a head start, here’s a step-by-step guide on creating 3D nail art:
- Prepare your nails by shaping them and applying a base coat.
- Choose your desired 3D design and gather the necessary materials.
- Apply a layer of gel or acrylic powder to create the base shape of your design.
- Use nail art brushes and tools to sculpt and shape the design.
- Cure or air-dry the design according to the specific material instructions.
- Add additional details and embellishments using gel or acrylic powder.
- Finish with a top coat to seal the design and enhance its longevity.
Remember, practice makes perfect when it comes to 3D nail art. Don’t be discouraged if your first attempt doesn’t turn out as planned. With time and practice, you’ll be creating stunning 3D nail art designs.
Tips for Maintaining 3D Nail Art:
To ensure your 3D nail art stays intact and lasts longer, here are a few essential tips:
- Avoid using your nails as tools to prevent any accidental damage to the design.
- Be gentle when performing daily tasks to minimize wear and tear.
- Apply a top coat every few days to maintain shine and protect the design.
- Moisturize your nails and cuticles regularly to keep them healthy and hydrated.
- Avoid exposing your nails to excessive heat or harsh chemicals, as they can weaken the design.
By following these tips, you can enjoy your 3D nail art for an extended period and show off your unique style.
The Magic of Gel Nail Art:
Gel nail art has gained immense popularity in recent years due to its long-lasting results and versatility. Unlike traditional nail polish, gel nail art involves the use of UV or LED light to cure and harden the gel, resulting in a durable and glossy finish. Let’s dive deeper into the world of gel nail art.
Introduction to Gel Nail Art:
Gel nail art offers numerous benefits, including:
- Longevity: Gel nails are known to last for several weeks without chipping or peeling.
- Durability: The gel creates a protective layer that helps to strengthen the natural nails.
- Variety of Colors and Effects: Gel polishes come in a wide range of colors and finishes, including glitters and shimmers.
- Quick Drying Time: Gel nails cure in a matter of minutes under a UV or LED lamp, reducing the risk of smudging.
With gel nail art, you can achieve professional-looking results without leaving the comfort of your home.
Step-by-Step Guide to Achieving Gel Nail Art:
If you’re new to gel nail art, follow these steps to achieve stunning results:
- Prep your nails by shaping them and pushing back the cuticles.
- Apply a thin layer of base coat and cure it under a UV or LED lamp.
- Apply a thin layer of gel polish, ensuring to paint the free edge of the nail. Cure under the lamp.
- Repeat the previous step to achieve the desired opacity, curing after each layer.
- Apply a layer of top coat to seal the design and add shine. Cure for the final time.
- Remove any residue with a lint-free wipe soaked in rubbing alcohol.
With practice, you’ll become more comfortable with the gel application process and create salon-quality results in no time.
Nail Art for the Holiday Season:
As the holiday season approaches, it’s the perfect time to embrace festive nail art designs. Adding a touch of holiday cheer to your nails can elevate your overall look and spread joy. Let’s explore some exciting nail art ideas for Christmas.
Nail Art Ideas for Christmas:
- Classic Red and Green: Embrace the traditional Christmas colors by painting your nails in vibrant red and green shades. Add some glitter or snowflake accents for an extra festive touch.
- Sparkling Snowflakes: Create an enchanting winter wonderland on your nails by painting snowflakes using white and silver polish. The delicate snowflake designs are perfect for a magical look.
- Christmas Ornaments: Paint colorful Christmas ornaments on your nails to showcase your holiday spirit. Add glitter or rhinestones to make the design sparkle and shine.
Step-by-Step Guide to Nail Art for Christmas:
To achieve stunning Christmas nail art, follow the step-by-step guide below:
- Prep your nails by shaping them and applying a base coat.
- Choose your desired Christmas nail art design and gather the necessary colors and tools.
- Paint your nails with a base color such as red or green.
- Use nail art brushes or dotting tools to create your chosen designs, such as snowflakes or Christmas ornaments.
- Add additional details or accents using glitter, rhinestones, or nail art tape.
- Finish with a top coat to seal the design and protect it from chipping.
With these festive nail art ideas, you’ll be ready to celebrate the holiday season in style.
Mastering Nail Art Brush Techniques:
Nail art brushes are essential tools for every aspiring nail artist. They allow you to create intricate designs with precision and finesse. Let’s explore the importance of nail art brushes and some popular techniques you can master.
Importance of Nail Art Brushes:
Nail art brushes are the key to achieving detailed and flawless designs. They come in various shapes and sizes, each serving a specific purpose. Investing in high-quality nail art brushes will enable you to bring your unique nail art visions to life.
Different Types of Nail Art Brushes:
Here are a few types of nail art brushes commonly used in the nail art world:
- Detail brush: A thin brush with a pointed tip, perfect for creating intricate details and fine lines.
- Striping brush: A long and thin brush, ideal for creating stripes and intricate patterns.
- Flat brush: A brush with a flat, square tip, suitable for creating broad strokes and filling in larger areas.
- Fan brush: A brush with thin, fanned bristles, used for creating delicate designs such as feathers or gradients.
- Dotting tools: Tools with various-sized tips, useful for creating dots and perfect circles.
Having these brushes in your collection will significantly enhance your ability to create beautiful and detailed nail art designs.
Brush Techniques for Creating Stunning Nail Art:
Now that you have the right nail art brushes, it’s time to master some popular brush techniques. Here are a few techniques you can practice and incorporate into your nail art designs:
- One-Stroke Technique: This technique involves loading two or more colors on a flat brush and creating stunning blended designs with a single stroke.
- Dry Brush Technique: Use a dry brush to create a textured or distressed look by lightly brushing over the nail’s surface.
- Gradient Technique: Create a gradient effect by using a fan brush or a sponge to blend two or more colors seamlessly.
- Petal Stroke Technique: With a detail brush, create delicate flower petals by using curved brush strokes and layering different colors.
- Striped Design Technique: Use a striping brush to create straight or curved lines on the nails, adding depth and visual interest to your designs.
By mastering these brush techniques, you’ll be able to take your nail art to new heights and create truly stunning designs.
The Art of Nail Art Drawing:
Nail art drawing is a technique that allows you to create intricate designs by directly drawing on the nails. This technique gives you the freedom to explore your artistic skills and create personalized nail art. Let’s dive deeper into the art of nail art drawing.
Importance of Nail Art Drawing:
Nail art drawing adds a unique and personal touch to your nail designs. With this technique, you can create intricate patterns, portraits, landscapes, and anything else you can imagine. By mastering nail art drawing, you’ll be able to create one-of-a-kind nail art that reflects your creativity.
Step-by-Step Guide for Nail Art Drawing:
To get started with nail art drawing, follow these steps:
- Prep your nails by shaping them and applying a base coat.
- Choose your desired nail art drawing design and gather the necessary colors and tools.
- Practice the design on paper to get a feel for the brush strokes and proportions.
- Use a detail brush and acrylic paint or nail polish to draw your chosen design directly on the nails.
- Take your time and work in small sections, letting each section dry before moving on to the next.
- Clean up any mistakes or smudges with a small brush or cotton swab dipped in remover.
- Finish with a top coat to seal the design and protect it from chipping.
Remember, nail art drawing patience and practice. Don’t be discouraged if your first attempts aren’t perfect. The more you practice, the more confident you’ll become in creating intricate nail art designs.
Tips to Enhance Your Nail Art Drawing Skills:
To enhance your nail art drawing skills, keep the following tips in mind:
- Practice regularly: Set aside time to practice your nail art drawing skills. The more you practice, the more control and precision you will develop.
- Use the right tools: Invest in high-quality detail brushes and use acrylic paint or nail polish that is easy to work with for better results.
- Start simple: Begin with simple designs and gradually work your way up to more complex ones. This will help you build confidence and improve your technique.
- Seek inspiration: Look for inspiration in various sources such as art, nature, fashion, and online nail art communities. Incorporate elements from different sources to create unique designs.
By following these tips and dedicating time to practice, you’ll become a master of nail art drawing in no time.
Conclusion:
In conclusion, nail art offers a world of creativity and self-expression. Whether you’re a beginner or an experienced nail artist, exploring the world of nail art can be incredibly rewarding. From 3D designs to gel nail art and festive holiday creations, the possibilities are endless.
Remember to practice and experiment with different techniques, designs, and tools. Allow your creativity to shine and let your nails become your canvas. With dedication and a passion for nail art, you’ll be amazed at the stunning designs you can create.
If you’re new to nail art, take things step-by-step and gather the necessary tools and materials. Dive into the world of nail art with excitement and an open mind. Remember that practice makes perfect, and each design you create is a step towards mastery.
So what are you waiting for? Unleash your creativity, express yourself through nail art, and let your fingertips become a beautiful masterpiece! Start your nail art journey today and discover the joy and satisfaction of creating stunning designs that truly reflect your personal style.