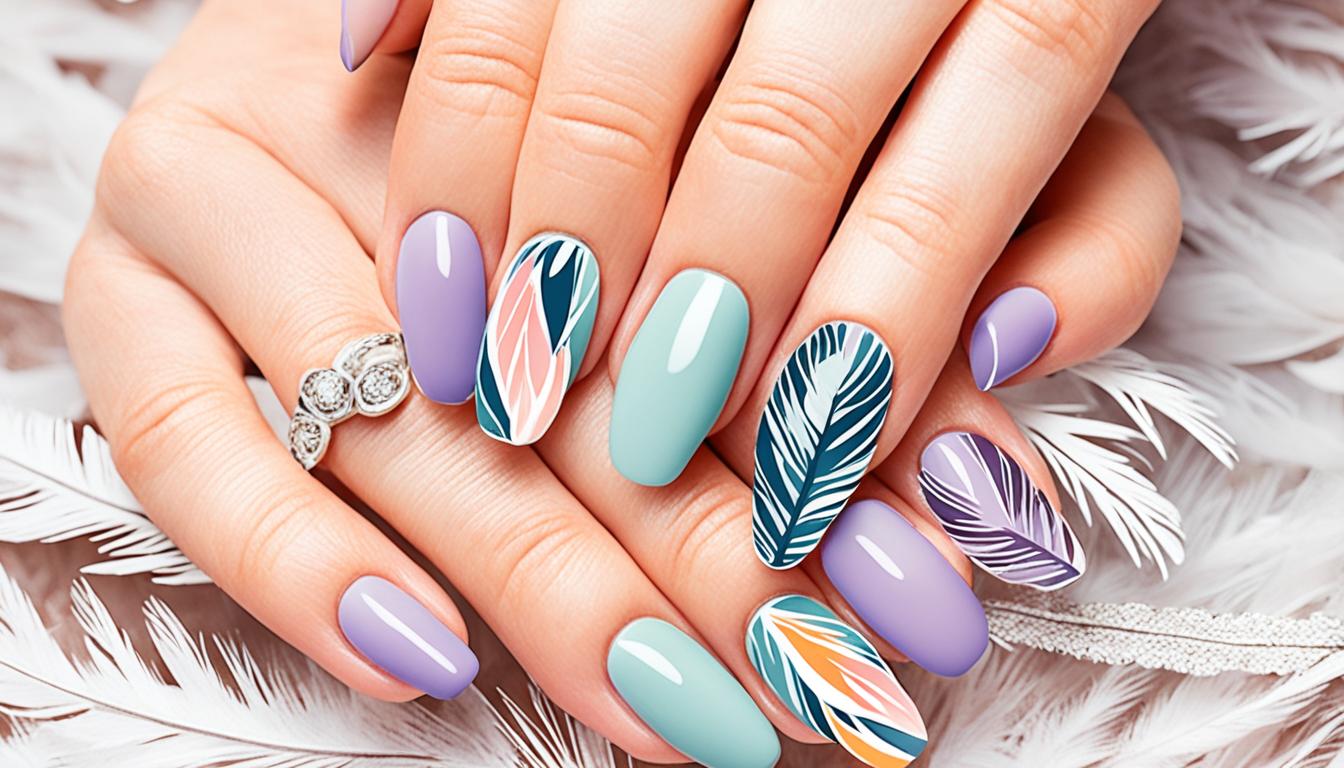
Embark on your nail art journey with confidence as we explore into the intricate yet rewarding world of the half-moon manicure technique. This classic style is a must-have in your repertoire, adding a touch of sophistication to your nail designs. In this tutorial, we will guide you through the step-by-step process of achieving flawless half-moon manicures, from choosing the right color combinations to mastering the art of precision. Say goodbye to messy edges and hello to perfectly polished nails that will leave everyone in awe. Get ready to elevate your nail game and become a half-moon manicure pro!
Preparation for Your Half-Moon Manicure
Before venturing into the world of half-moon manicures, it’s vital to properly prepare your nails. Proper preparation will ensure a flawless and long-lasting manicure that you can proudly show off. This chapter will guide you through the necessary steps to take before creating your half-moon masterpiece.
Selecting the Right Tools and Materials
Materials are the building blocks of any great manicure. In the matter of half-moon nail art, you’ll need a few key items in your arsenal. Start by gathering a good-quality base coat, nail polish colors of your choice for the half-moon and base, adhesive hole reinforcements or nail vinyls to create the half-moon shape, a top coat for sealing in your design, and nail polish remover and cotton balls for clean-up.
It’s important to invest in high-quality tools for your half-moon manicure. Look for a thin nail art brush for precise designs, a dotting tool for creating intricate details, and a nail file and buffer to shape and smooth your nails before painting. Having the right tools will make the process easier and help you achieve professional-looking results.
Prepping Your Nails for Artwork
The first step in prepping your nails for half-moon nail art is to ensure they are clean and free of any old polish. Use a gentle nail polish remover to clean your nails thoroughly. Trim and shape your nails to your desired length and style, then gently push back your cuticles using a cuticle pusher or orangewood stick. Finally, buff the surface of your nails lightly to create a smooth canvas for your artwork.
Your nails should also be free of any oils or lotions before starting your manicure. Use a nail polish remover or alcohol-based cleanser to remove any residue on your nails. This step is crucial for ensuring the longevity of your nail art, as oils can prevent the polish from adhering properly and cause chipping or peeling.
Step-by-Step Guide to the Half-Moon Manicure
Clearly, mastering the half-moon manicure is a must-have skill for any nail art enthusiast. This classic yet chic design adds a touch of sophistication to your nail routine. To help you perfect this look, we’ve broken it down into simple steps for you to follow.
| Tips for Applying Base Colors | |
| 1. Clean Nails | Begin by ensuring your nails are clean and free of any old polish. This will help the base color adhere better. |
| 2. Base Coat | Apply a thin layer of base coat to protect your nails and create a smooth surface for the color to stick to. |
| 3. Choosing Colors | Select two contrasting colors for the half-moon design. For a classic look, go for a darker shade for the base and a lighter color for the half-moon. |
| 4. Precision | Use a steady hand or nail guides to help create a clean and sharp half-moon shape. |
Tips for Applying Base Colors
Step-byStep, the key to a successful half-moon manicure lies in the application of the base colors. Careful attention to detail and technique can make all the difference in achieving a professional finish. Start by ensuring your nails are completely clean and free of any oils or residue before applying the base coat. This will help the color adhere better and last longer. When choosing your colors, opt for contrasting shades to create a striking half-moon effect. Knowing the right color combination is crucial for a visually appealing manicure.
Creating the Perfect Half-Moon
For the next step in creating the perfect half-moon, carefully position nail guides or freehand the design using a fine nail art brush. StartbyStep by painting the base color on your nails and letting it dry completely before applying the half-moon shade. Use a small brush or a dotting tool for precision when creating the half-moon shape. This will help you achieve a clean and defined curve along the base of your nails.
Colors play a significant role in the half-moon manicure. The contrast between the base color and the half-moon shade creates a visually stunning effect. Choosing complementary hues can elevate your nail art game and make your manicure stand out. Experiment with different color combinations to find what works best for you and showcases your personal style.
Advanced Half-Moon Manicure Techniques
Despite the half-moon manicure being a classic nail art technique, there are various advanced methods to elevate your nail game. To master these techniques, it’s vital to practice and pay attention to details. For a comprehensive guide, you can refer to the Trophy Wife nail art tutorial: Half moons.
| Technique | Description |
| Gradient Half-Moons | Create a seamless gradient effect using different shades of the same color family for a modern twist. |
| Reverse Half-Moons | Switch up the traditional half-moon placement by having the curve at the base of the nail for a unique look. |
| Negative Space Half-Moons | Leave the half-moon area bare to play with negative space and add a minimalist touch to your manicure. |
Adding Embellishments and Details
Details matter when it comes to perfecting your half-moon manicure. Consider adding embellishments like rhinestones, glitter, or nail art decals to accentuate the design. You can also experiment with different textures and finishes to make your half-moon manicure stand out. Keep in mind, the devil is in the details!
Layering is another fantastic way to add dimension to your half-moon manicure. Try mixing and matching colors, patterns, and finishes to create a unique and eye-catching look. Don’t be afraid to get creative and let your imagination run wild when it comes to embellishing your nails.
Factors to Consider for Long-Lasting Nail Art
Details like using a high-quality base coat and topcoat can significantly impact the longevity of your nail art. Opt for chip-resistant formulas that will help your manicure stay flawless for longer periods. Additionally, consider the thickness of your nail polish layers to prevent chipping and peeling.
- Proper Nail Prep: Ensure your nails are clean, dry, and free of oils before applying any nail polish.
- Seal the Edges: Apply the base coat and topcoat to the tips and edges of your nails to prevent premature chipping.
- Avoid Harsh Chemicals: Steer clear of products containing harsh chemicals that can weaken your nails.
The key to long-lasting nail art lies in the details and proper maintenance of your manicure. By considering these factors and incorporating them into your nail care routine, you can enjoy beautiful and durable nail art for days to come. Thou shall not underestimate the power of a well-maintained nail art!
To master the half-moon manicure and ensure it lasts, paying attention to the smallest details is crucial. Keep in mind, the quality of your tools and products, along with proper application techniques, are vital for achieving stunning and long-lasting nail art. Thou shall not cut corners when it comes to nail care.


Maintenance and Aftercare
Many nail art enthusiasts invest time and effort into creating beautiful half-moon manicures. To ensure that your nail art lasts longer and stays vibrant, proper maintenance and aftercare are imperative.
Protecting Your Nail Art
On obtaining your flawless half-moon manicure, it is crucial to take steps to protect it. To prevent chipping or peeling, apply a clear topcoat every few days to seal the design and add a layer of protection. Remember to wear gloves while doing tasks that may involve water, chemicals, or rough surfaces to avoid damaging your nail art.
Additionally, be gentle while using your hands and avoid using them as tools to prevent accidental damage to your manicure. A little extra care goes a long way in maintaining the beauty of your half-moon nail art.
Tips for Touch-Ups and Longevity
On noticing any signs of wear and tear on your half-moon manicure, it’s time for some touch-ups to extend its longevity. Use a small brush dipped in nail polish remover to clean up any smudges or imperfections along the edges. Applying a thin layer of nail polish over the existing design can help refresh the colors and maintain the overall look.
- Store nail polish in a cool, dark place to prevent color separation or thickening.
- Avoid using your nails as tools to prevent accidental damage.
- Moisturize your nails and cuticles regularly to keep them healthy and strong.
After following these tips, your half-moon manicure will look as good as new, and you can enjoy the elegant design for a longer period.
More on Tips for Touch-Ups and Longevity
Any nail art enthusiast knows that regular maintenance is key to preserving the look and quality of your manicure. By following the tips mentioned above, you can ensure that your half-moon nail art stays fresh and flawless for days to come.
- Avoid prolonged exposure to water to prevent your nail art from lifting or chipping.
- Trim your nails regularly to prevent snagging or damaging the design.
- Invest in high-quality nail polish and tools for better results and longevity.
After implementing these suggestions, you can enjoy stunning half-moon manicures that withstand the test of time with proper care and attention.

Final Words
On the whole, mastering the half-moon manicure in your nail art routine is a fun and creative way to elevate your manicures. With the right tools, techniques, and practice, you can achieve flawless half-moon nails that are sure to turn heads. Remember to experiment with different color combinations, nail shapes, and textures to create unique and eye-catching designs. With patience and dedication, you’ll soon be able to create flawless half-moon manicures like a professional nail artist. So, grab your nail polishes and brushes, and get started on mastering the half-moon manicure in your nail art routine today!
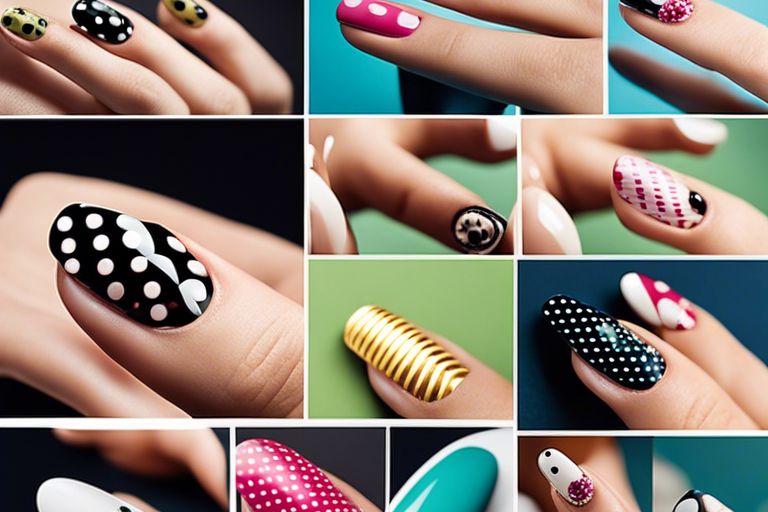
How To Create Cute And Playful Polka Dot Nail Art Designs With Ease?
FAQ
Q: What is a half-moon manicure?
A: A half-moon manicure is a nail art design that features a crescent shape near the cuticle of the nail, typically contrasting with the rest of the nail color.
Q: What supplies do I need to master the half-moon manicure?
A: To master the half-moon manicure, you will need nail polish in your desired colors, nail polish remover, nail art brush or nail guides, base coat, and top coat.
Q: How do I create a perfect half-moon manicure?
A: To create a perfect half-moon manicure, start by applying a base coat to protect your nails. Then, use a nail art brush or nail guides to create the crescent shape near the cuticle. Fill in the shape with your chosen nail polish color and finish with a top coat for a flawless finish.
Q: What are some tips for mastering the half-moon manicure?
A: To master the half-moon manicure, make sure to practice on a flat surface, take your time when creating the crescent shape, and use contrasting colors to make the design pop. Additionally, clean up any mistakes with nail polish remover and a small brush for a clean look.
Q: How long does a half-moon manicure last?
A: A half-moon manicure can last up to a week or longer with proper care and application of a top coat. Be sure to avoid activities that may chip or damage the design to prolong its longevity