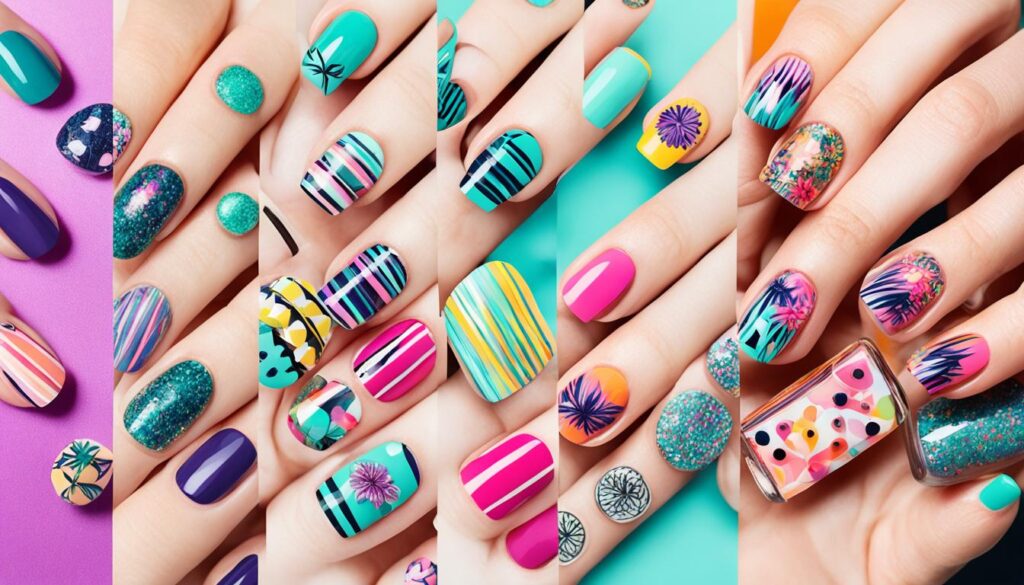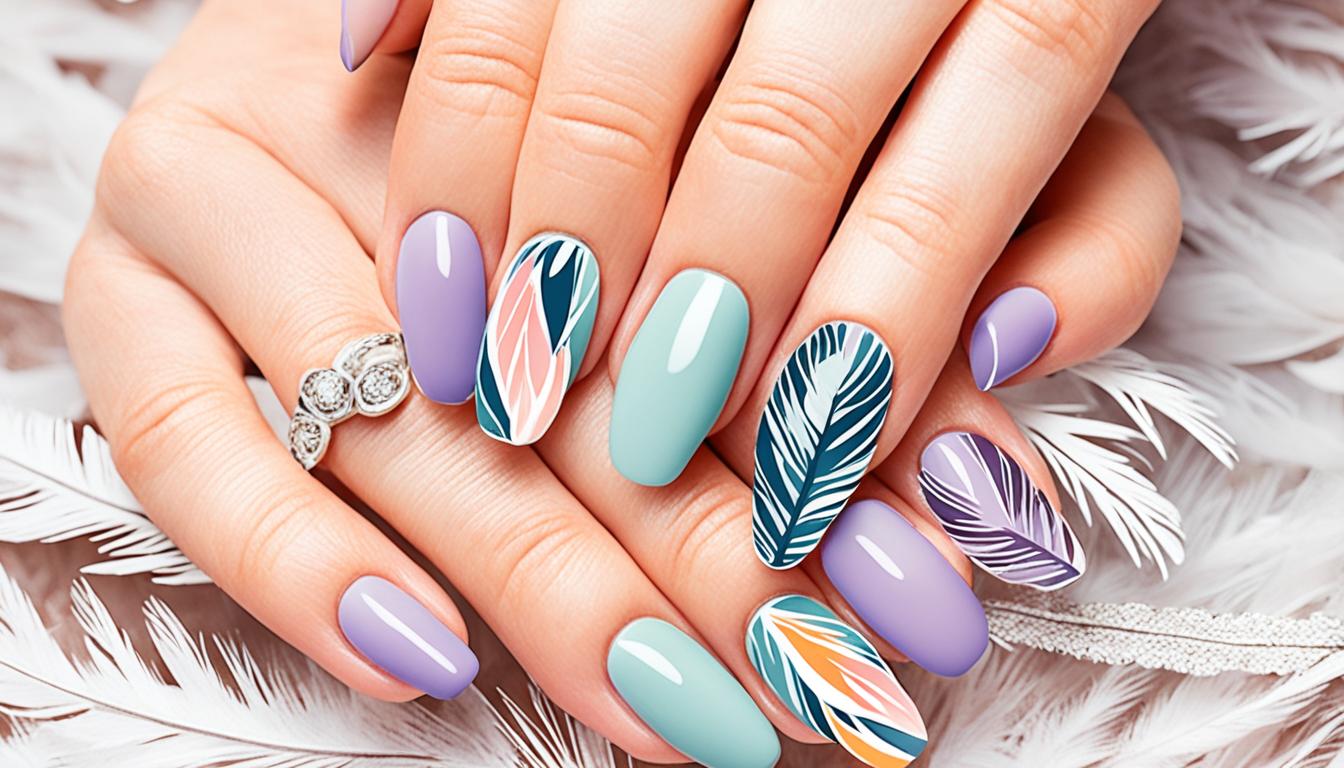
There’s something undeniably enchanting about Boho chic feather nail art that captures the carefree elegance of free-spirited style. For me, the allure of this latest trend lies in its blend of rustic charm and DIY ingenuity, which offers both a fashion statement and a personal craft experience. If there’s one trendy nail art idea that has thoroughly captured my heart and imagination, it’s this whimsical combination of feathers and polish.
Embarking on a DIY feather nail art project is not only delightful; it’s a way to weave a touch of bohemian allure into everyday life. Through this guide, I’m thrilled to show you how simple it can be to bring the boho vibe to your fingertips. Let’s get ready to add that special touch to your look with unique, vibrant feather nails that express your individuality and artful nature.
Boho Chic Feather Nail Art Essentials
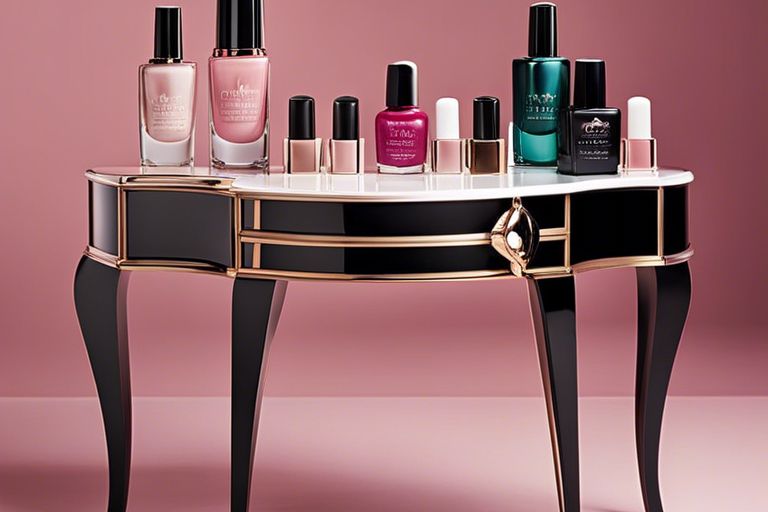
As we embark on the delightful journey to create bohemian-inspired feather nail designs, it’s essential to consider the materials we’ll need for this stylish nail art undertaking. Crafting unique nail art designs requires not just creativity but also the right tools and supplies. To achieve the vibrant and colorful feather nails that typify bohemian nail art, I’ll walk you through the selection process for high-quality materials that will cater to this intricate craft.
Gathering Your Materials for Feather Nail Designs
The first step towards achieving that bohemian vibe on your nails is to assemble a collection of materials that will translate your vision into reality. For those who adore unique nail art designs, you’ll delight in selecting feathers that harmonize with your personal style. Here’s a glimpse of what you’ll need:
- Feathers – Choose an assortment with various colors and patterns to suit a range of styles, from subtle earth tones for an understated look to bright, vibrant shades for a statement piece.
- High-quality nail polish – This will serve as both your adhesive and your canvas, so select colors that complement your feathers.
- Nail scissors – For carefully trimming feathers to the perfect size and shape.
- Tweezers – These are crucial for positioning your feather precisely on the nail.
- Nail file – To shape your nails and ensure an even surface for your art.
- Clear top coat – To seal in your design and give it durability.
Prepping Your Nails for Bohemian Nail Art
Before we dive into the artistic process, it’s important to ensure that your nails are primed and ready to showcase your feather nail designs. Immaculate preparation is the foundation of stylish nail art, and it’s particularly crucial when working with delicate materials like feathers. Follow these steps to create the perfect canvas for your bohemian nail art:
- Clean your nails thoroughly, removing any previous nail polish and dirt.
- Shape your nails with a file, so they complement the style of feather nail art you’re going for – be it round, square, or almond-shaped.
- Tend to your cuticles, pushing them back gently to maximize the surface area for your nail design.
- Buff your nails lightly to create a smooth base that will help the polish and feathers adhere better.
- Finally, apply a base coat to protect your nails and prevent staining from colored polishes.
With your materials at hand and nails meticulously prepped, you’re all set to begin the creative process of applying your bohemian nail art with confidence and ease. Remember, the vibrant and unique character of bohemian style lies in the details – especially when it’s at your fingertips!
The Step-by-Step Process for Stunning Feather Nails
Embarking on the transformation into stylish, Bohemian nail art starts with a well-executed base. For this diy feather nail art project, I’ll demonstrate the meticulous process to ensure your trendy nail art ideas transition from concept to eye-catching reality. Let’s dive into the essentials of creating long-lasting, boho chic feather nail art.

Applying the Base Coat for Long-Lasting Color
First, select a color that speaks to your personal boho vibe and paint a thin, even base layer on each nail. This step is vital, setting the stage for unique nail art designs. A well-applied base coat not only helps the color last but also enhances the adherence of delicate feathers to your nails. Let’s break it down:
- Start with a clean, dry nail surface to ensure smooth application.
- Apply a thin layer of your chosen polish color, making sure not to miss the edges.
- Allow the base coat to dry completely before moving on to feather placement.
Placing the Feather for Perfect Boho Flair
A key feature of Boho chic feather nail art is the artful placement of feathers. This is where tweezers come in handy, allowing you to set the feather where you want it. The technique involves:
- Choosing a feather trim that fits the length and shape of your nail.
- Applying a second layer of(base coat) polish to act as a glue for your feather.
- Gently laying down the feather onto the wet nail.
This delicate process is crucial for achieving the stylish and trendy look that boho chic feather nail art is known for.
Sealing the Design with a Top Coat for Durability
Lastly, we must protect our work to ensure our DIY feather nail art stands the test of time. Here’s how you secure your bohemian masterpiece:
- Wait until the design is touch-dry, then brush on a generous layer of clear top coat.
- Cover the entire nail, including the tip, to lock in the feather and prevent lifting.
- Allow plenty of time for the top coat to dry, ensuring maximum protection and shine.
With your Boho chic feather nail art sealed and ready, you’ll be able to showcase your stylish and unique nail art designs with confidence.
Conclusion
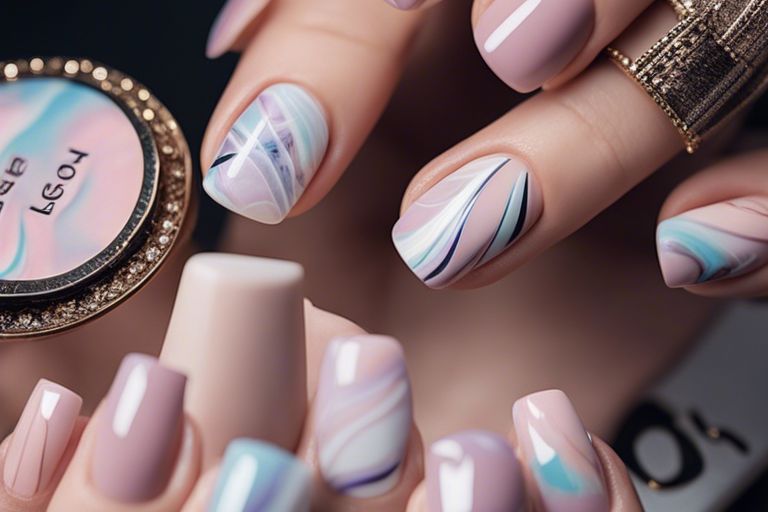
As we draw our journey into the vibrant world of Boho chic feather nail art to a delightful close, I feel invigorated to witness the rise of such captivating, stylish nail art. We’ve navigated through crafting colorful feather nails with finesse, channeling our creative muses and imbuing a touch of bohemian splendor into our daily lives. It’s been a pleasure sharing the intricate secrets behind bohemian nail art, empowering you to realize these miniature canvases of self-expression.
In creating your own colorful feather nails, you’ve not only learned a new craft but have also woven a personal narrative through the hues and textures chosen. Such is the allure of bohemian nail art; it’s not just an external adornment but also a reflection of our inner artistic flame. I trust that these stylish nail art tutorials have guided you in creating not just aesthetic beauty but a unique statement that resonates with your individuality.
May your artistic journey through boho chic feather nail art continue beyond this guide, flourishing into an array of dazzling designs that showcase your unbridled, free-spirit. As you share these creations, may they serve as a testament to your artistic flair and boldness, inspiring others to explore the breadth of their own creativity. The canvas of your nails is ever ready for the next bohemian masterpiece, so indulge your passion for beauty and keep spreading the boho chic magic—one fingertip at a time.
FAQ
What is Boho Chic Feather Nail Art?
Boho Chic Feather Nail Art is a type of manicure that incorporates real or faux feathers into the nail design. It’s inspired by bohemian style, known for its free-spirited nature and artistic flair. This unique nail art design reflects personal creativity and adds a trendy touch to any look.
Can I create DIY Feather Nail Art at home?
Absolutely! DIY Feather Nail Art can be created at home with the right materials and a bit of patience. You’ll need feathers, nail polish, a base and top coat, tweezers, and scissors among other tools. I’ll guide you through the entire process so you can achieve stylish, boho-inspired nails in the comfort of your home.
What materials do I need for Bohemian Nail Art?
To create Bohemian Nail Art, you’ll need a few key materials including thin, flexible feathers that can lie flat on the nail, a selection of nail polish colors for the base and design, a clear base coat and top coat to prep and seal your nails, nail glue (optional), tweezers for feather placement, and scissors for trimming the feathers.
How do I select the right feathers for my Boho Chic Feather Nails?
When choosing feathers for your nails, it’s important to select thin, small feathers that can easily conform to the curve of your nails. Look for feathers with vibrant colors and interesting patterns to create a captivating design. Natural feathers can often provide the unique textures and colors perfect for a boho chic look.
What are the steps to prepare my nails before applying feather designs?
Before applying feather designs, make sure your nails are clean, filed, and shaped to your liking. Push back and trim any loose cuticles for a clean working area. Then, apply a clear base coat to protect your nails and provide a sticky surface for the feathers to adhere to. Let the base coat dry completely before moving on to the feather application.
How do I properly apply the base coat before the feather?
To apply the base coat correctly, start with clean and dry nails. Apply a thin and even layer of the base coat to each nail. Take care to cover the entire nail surface, including the edge, to prevent chipping and to ensure good adhesion for the feathers. Allow the base coat to dry fully before placing the feather. This will help in achieving long-lasting color and adhesion for your feather nail art.
How can I place the feathers perfectly for that Boho flair?
To achieve the perfect boho flair, pick up the feather with tweezers and carefully place it onto the tacky surface of your freshly applied base coat. Trim any excess feather that extends beyond your nail bed to match your nail shape. If necessary, gently press down the feather using a clean, dry brush or orangewood stick to ensure it lies flat and smooth against the nail.
What’s the best way to seal my Boho Chic Feather Nail Art?
After placing your feather perfectly, seal your nail art by applying a clear top coat. Use a generous amount of the top coat to encase the feather completely, being cautious not to disturb the feather’s placement. Apply the top coat starting from the base of the nail to the tip, ensuring the entire design is covered. Allow it to dry completely for a durable and glossy finish.