Embark on your nail art journey with these simple steps to achieve adorable and fun polka dot designs effortlessly. Polka dot nails are versatile and timeless, adding a touch of whimsy to your manicure. By following our expert tips and techniques, you can master the art of creating playful polka dot nail designs that will surely make a statement. Let’s look into the world of nail art and unleash your creativity!
Preparation for Polka Dot Nail Art
Gathering Your Materials
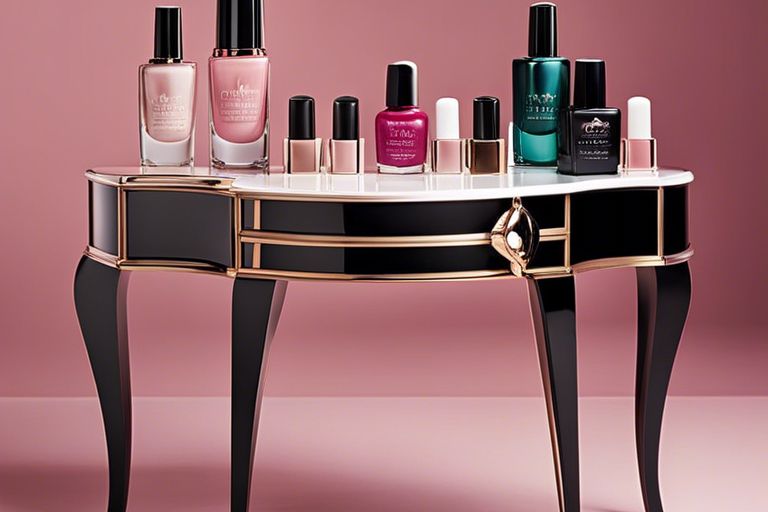
An important first step in creating cute and playful polka dot nail art designs is gathering your materials. You will need a few basic supplies such as nail polish in various colors, a dotting tool or toothpick, a base coat, a top coat, and nail polish remover for any mistakes.
Additionally, you may want to have some nail art stickers or stencils on hand to add extra flair to your designs. Make sure your workspace is well-lit and that you have a steady hand to create precise dots.
Choosing the Right Color Combinations
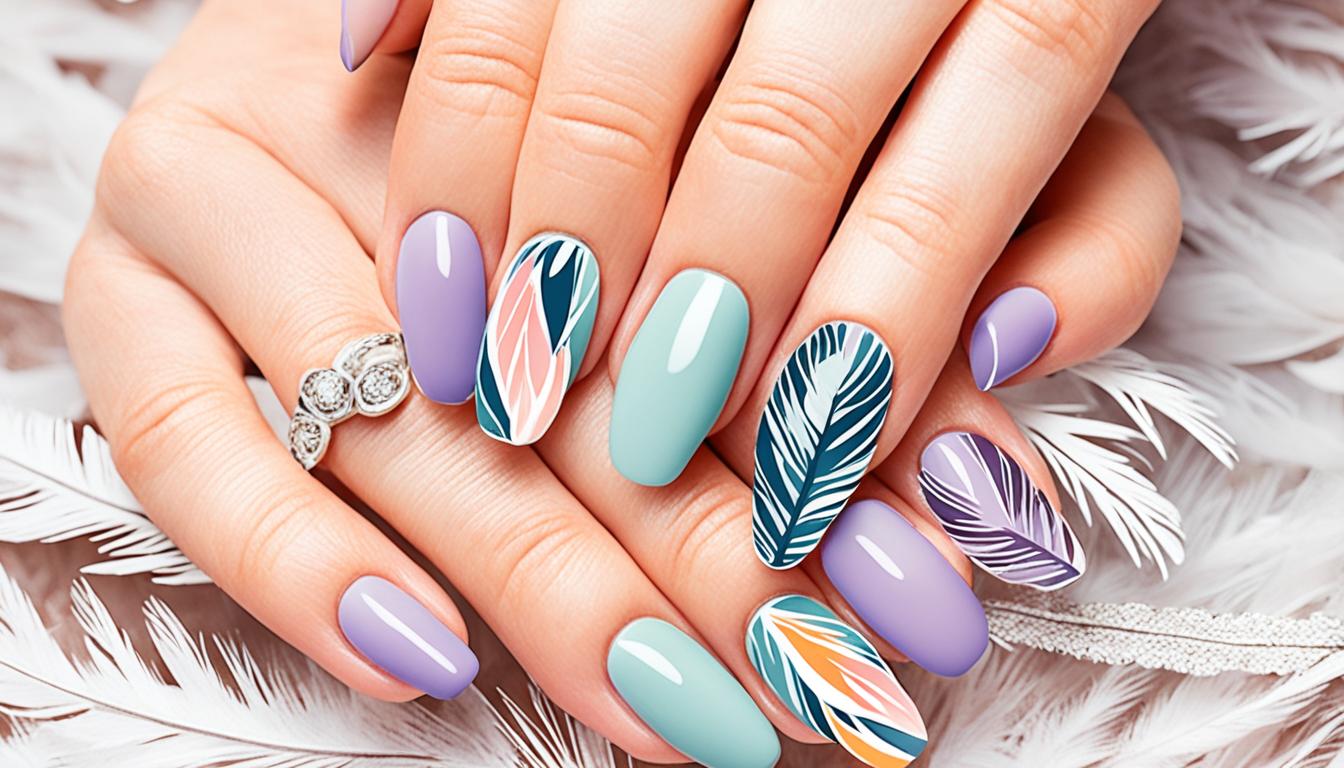
In the context of choosing the right color combinations for your polka dot nail art, the possibilities are endless. You can go for bold and bright colors for a fun look, or opt for pastel shades for a more subtle design. Experiment with contrasting colors or monochromatic schemes to create different effects.
Nail art experts recommend choosing colors that complement each other well and using a mix of light and dark shades to create dimension in your designs. Don’t be afraid to mix and match colors to find the perfect combination that suits your style.
Step-by-Step Guide
Some nail art designs can seem daunting to create, but polka dot nails are a fun and playful choice that anyone can master with the right tools and techniques. In this step-by-step guide, you will learn how to create cute and playful polka dot nail art designs with ease.
| Base Coat Application Tips | Creating Perfect Polka Dots |
Base Coat Application Tips
When creating polka dot nail art, it’s crucial to start with a smooth and clean base. Begin by applying a thin layer of base coat to protect your nails and help the polish adhere better. Make sure to let the base coat dry completely before moving on to the next step.
- Use a quality base coat that suits your nail type for a lasting manicure.
- After applying the base coat, you can also apply a white polish as a base to make the polka dot colors pop.
Creating Perfect Polka Dots
The key to flawless polka dot nail art is in the tools you use. A dotting tool or a toothpick can create perfect dots with ease. Dip the tool into the nail polish of your choice and carefully place dots onto your nails in a pattern that you desire. Remember to clean the tool in between colors to avoid mixing.
The size of the dots can vary depending on your preference. For a cute and playful look, consider mixing up the sizes and colors of the dots on each nail. Experiment with different patterns and arrangements to create a unique and fun design.
Perfect: With these simple tips and techniques, you can create adorable polka dot nail art designs that are sure to impress. Let your creativity shine through as you play with colors and patterns to achieve the perfect polka dot manicure.
Design Variations and Creative Tips
Once again, polka dot nail art designs offer endless possibilities for creativity and fun. By exploring various design variations and incorporating creative tips, you can elevate your nail art game to the next level.
- Incorporating Different Sizes and Patterns
- Mixing and Matching with Other Nail Art Techniques
Incorporating Different Sizes and Patterns
Patterns play a key role in creating visually appealing polka dot nail art designs. To add depth and interest to your manicure, experiment with different sizes of dots and patterns. You can create a playful look by mixing large dots with small ones or by alternating between solid dots and hollow dots. For inspiration on how to execute this technique flawlessly, check out this Beginner Friendly Polka Dot Nail Art – lesliejoanny✨ tutorial.
This creative approach allows you to customize your nail art design to suit your style and preferences. Whether you prefer a subtle and understated look or a bold and vibrant one, experimenting with different sizes and patterns will help you achieve the desired effect with ease.
Mixing and Matching with Other Nail Art Techniques
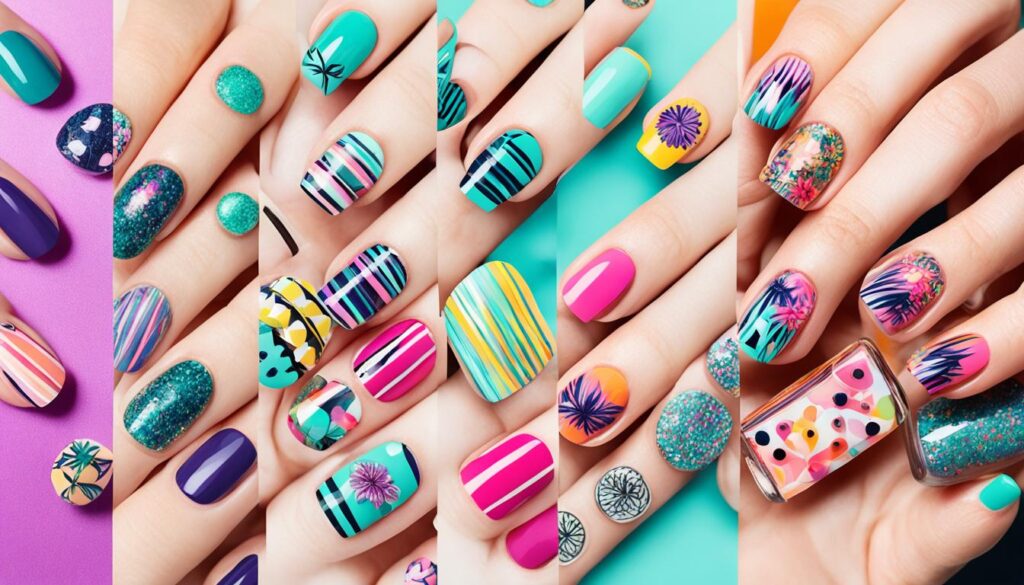
Incorporating different nail art techniques can take your polka dot designs to the next level. By combining polka dots with techniques such as ombre, geometric shapes, or glitter accents, you can create a unique and eye-catching manicure that stands out from the crowd.
With a little creativity and practice, you can seamlessly blend various nail art techniques to create a cohesive and stunning look. Whether you’re a beginner looking to experiment or a seasoned nail art enthusiast, mixing and matching different techniques offers endless possibilities for creating one-of-a-kind nail art designs.
Troubleshooting
Fixing Common Mistakes
To troubleshoot common mistakes in your polka dot nail art designs, start by addressing any smudges or uneven dots. Quickly fix smudges by gently wiping them off with a small brush dipped in nail polish remover. For uneven dots, use a toothpick or dotting tool to carefully touch up and reshape them for a more polished look.
If you notice that the dots are not drying evenly or are blending into each other, let each layer dry completely before adding more dots. This will help prevent smudging and ensure that your polka dot design stays crisp and vibrant.
How to Ensure Longevity of Your Nail Art
To ensure the longevity of your polka dot nail art designs, apply a clear topcoat over the entire nail once the dots have dried completely. This will help seal in the design and protect it from chipping or fading. Additionally, consider wearing gloves when doing tasks that can cause damage to your nails, such as washing dishes or gardening.
Your polka dot nail art will last longer if you take proper care of your nails. Avoid using your nails as tools and try to minimize contact with harsh chemicals or solvents that can weaken the polish. By following these tips, you can enjoy your cute and playful polka dot nail art for days to come.
To wrap up
Drawing together cute and playful polka dot nail art designs is a fun and straightforward way to elevate your nail game. By following the simple steps outlined above, you can easily create a variety of adorable looks that are sure to grab attention. Experiment with different colors, sizes, and patterns to unleash your creativity and personalize your nail art. With a little practice and patience, you’ll be able to master this technique and flaunt stylish polka dot nails that are perfect for any occasion.
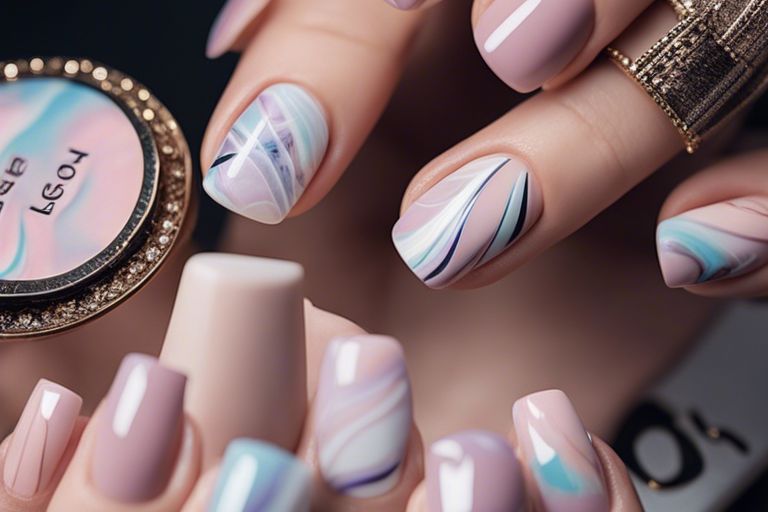
Learn How To Create Stunning Marble Nail Art Designs The Easy Way!
FAQ
Q: What materials do I need to create cute and playful polka dot nail art designs?
A: To create cute and playful polka dot nail art designs, you will need nail polish in various colors, a dotting tool or bobby pin, base coat, and top coat.
Q: How can I prepare my nails before starting the polka dot nail art design?
A: Before starting the polka dot nail art design, make sure to clean your nails, trim and shape them, apply a base coat to protect your nails, and let it dry completely before applying the polka dot design.
Q: What are some tips for creating perfectly round polka dots on my nails?
A: To create perfectly round polka dots on your nails, dip the dotting tool or bobby pin into the nail polish and gently press it onto your nails in a controlled manner. Practice on a piece of paper or spare nail before applying the dots to your nails.
Q: How can I add a playful twist to my polka dot nail art design?
A: You can add a playful twist to your polka dot nail art design by mixing and matching different colors, creating patterns like stripes or zigzags, incorporating glitter or rhinestones, or adding a matte or glossy top coat for different effects.
Q: How do I ensure my polka dot nail art design lasts longer?
A: To ensure your polka dot nail art design lasts longer, apply a top coat to seal in the design and protect it from chipping. Also, avoid hot water and harsh chemicals that can weaken the nail polish and cause it to chip sooner.