Embark on a journey to master the art of creating mesmerizing marble nail designs effortlessly. With our step-by-step guide, you will unveil the secrets to achieving professional-looking marble nails without any hassle. From selecting the perfect color palette to mastering the swirling technique, this tutorial will equip you with all the necessary skills to elevate your nail art game to new heights. Get ready to amaze everyone with your stunning marble nail creations!
Preparing Your Nails for Art
Tips for Healthy, Strong Nails Before You Start
The key to creating stunning marble nail art designs starts with the foundation – your nails. To ensure your nails are in the best possible shape before you begin, follow these tips for healthy and strong nails:
- Keep your nails well-moisturized by using a nourishing cuticle oil or cream regularly.
- Avoid using your nails as tools to open packages or for other tasks that can cause breakage.
- Eat a balanced diet rich in vital vitamins and minerals to promote nail growth and strength.
Perceiving any issues with your nails early on and addressing them promptly can prevent damage and ensure a smooth canvas for your marble nail art.
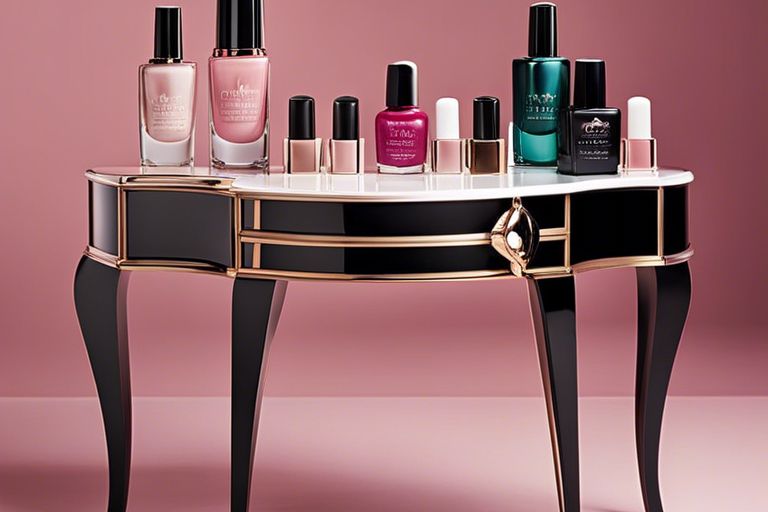
Selecting the Right Base Coat
To achieve long-lasting marble nail art, it is crucial to select the right base coat. A strong base coat not only helps your nail polish adhere better but also provides a protective layer for your nails.
The choice of base coat can vary depending on your nail type and needs. Some base coats offer strengthening properties, while others focus on smoothing out the nail surface. Consider your specific requirements and select a base coat that will best support your marble nail art endeavors.
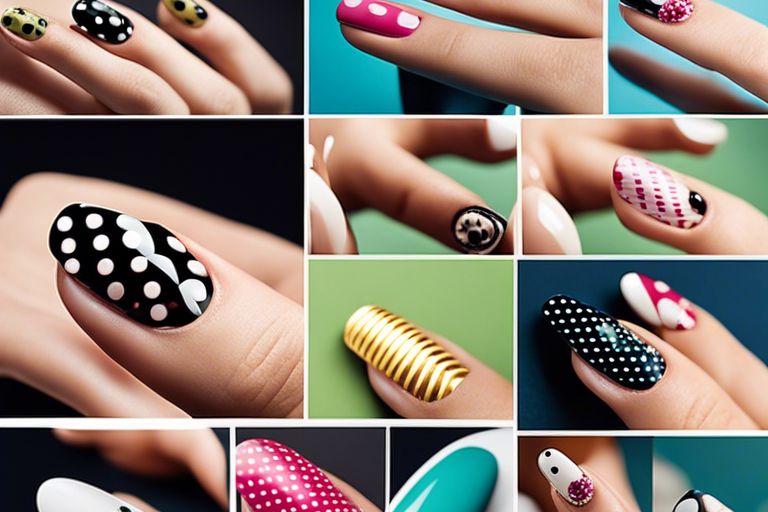
Materials and Tools Needed
Some of the crucial materials and tools needed to create stunning marble nail art designs include a selection of nail polishes in various colors, a small cup of room temperature water, nail polish remover, a cleanup brush, tape or liquid latex for protecting your skin around the nails, and a top coat for sealing in your design.
Essential Tools for Creating Marble Designs
On your journey to mastering marble nail art, having the right tools is crucial. A detail brush or a fine-tipped nail art brush will help you create intricate marble patterns with precision. A dotting tool can also be handy for creating swirls and designs within the marble effect.
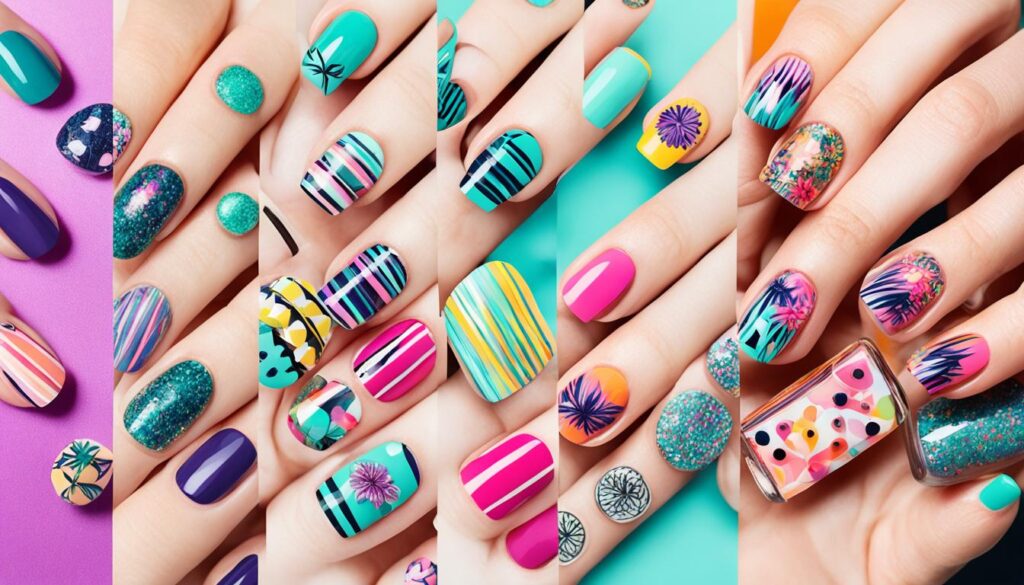
Choosing the Best Nail Polishes and Colors
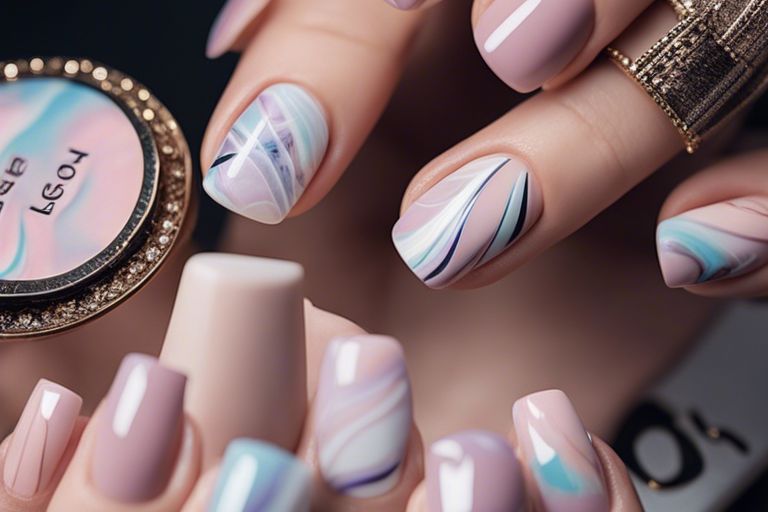
With the plethora of nail polish options available, selecting the best colors for your marble nail art is key. Opt for a mix of light and dark shades to create contrast and depth in your design. Cream or gel nail polishes tend to work best for marble effects as they spread smoothly in the water and blend effortlessly.
When choosing nail polishes for your marble nail art, consider selecting colors that complement each other well and do not blend into a muddy mess. It’s also important to choose polishes that have a good consistency and opacity to ensure vibrant and striking marble patterns on your nails.
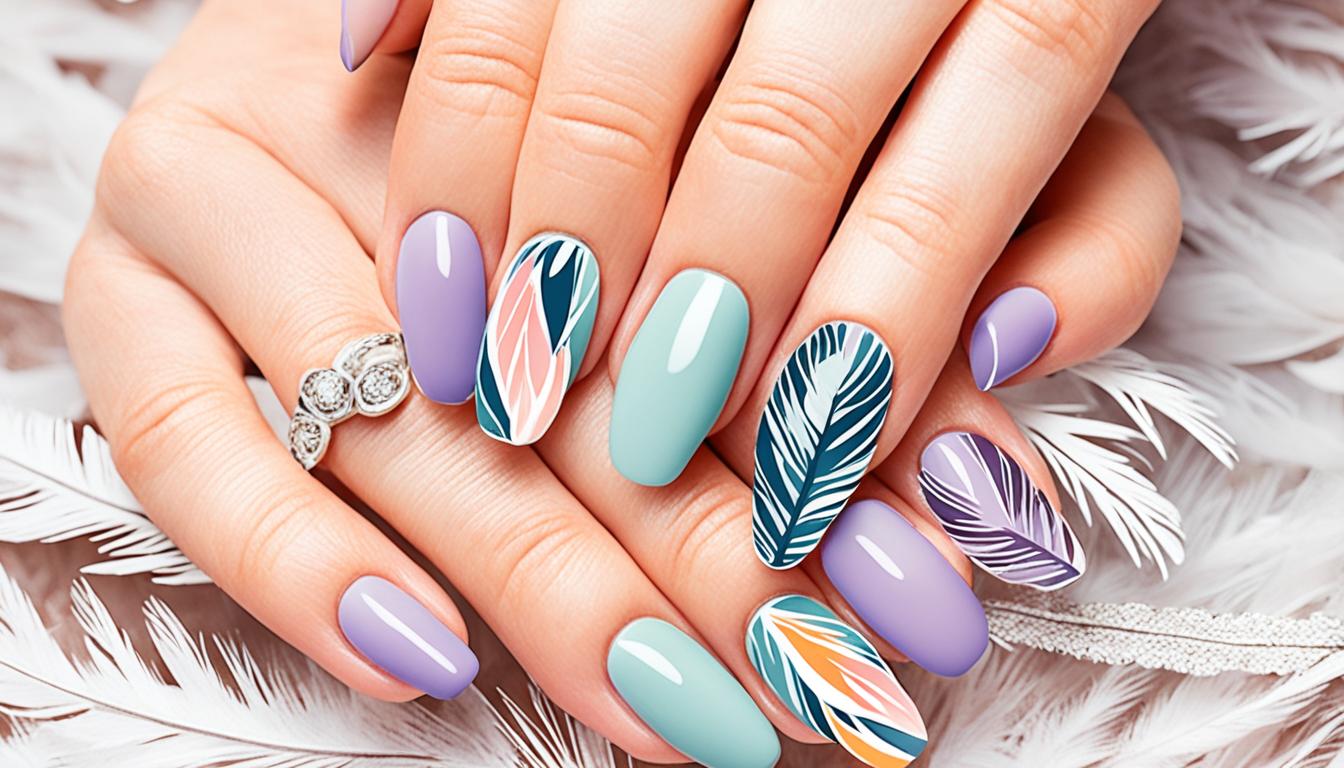
Creating Your Marble Nail Art
Not only is marble nail art a popular trend in the beauty industry, but it is also a fun and creative way to express yourself through your nails. By following a few simple steps, you can achieve stunning marble nail art designs that will make your nails stand out.
Step-by-Step Guide to Achieve the Marble Effect
To create a marble effect on your nails, follow the step-by-step guide below:
| Step 1: Prepare Your Nails | Step 2: Apply Base Coat |
| Step 3: Apply Nail Polish | Step 4: Create Marble Effect |
| Step 5: Clean Up | Step 6: Apply Top Coat |
Following these steps will help you achieve a beautiful marble effect on your nails that is sure to impress anyone who sees them.
Factors That Affect the Quality of Your Design
When creating marble nail art designs, there are a few factors that can affect the quality of your design. These factors include:
- Consistency of nail polish
- Technique used to create the marble effect
- Quality of tools and materials
With the right consistency of nail polish and proper technique, you can create intricate marble nail art designs with ease. Quality tools and materials also play a vital role in achieving a professional-looking design. Assume that these factors are imperative when aiming for a high-quality marble nail art design.
Factors That Affect the Quality of Your Design
Affecting the quality of your marble nail art design is crucial in creating stunning results. By paying attention to factors such as the consistency of your nail polish, the technique you use, and the quality of your tools and materials, you can ensure that your marble nail art designs turn out beautifully. Assume that mastering these factors will lead to flawless and eye-catching designs.
Advanced Techniques and Tips
Many nail art enthusiasts are always looking for ways to take their designs to the next level. With marble nail art, there are advanced techniques and tips that can help elevate your manicure game. Here are some expert insights to help you create stunning marble nail art designs effortlessly:
- Experiment with different color combinations to create unique marble effects.
- Use fine-tipped nail art brushes to add intricate details and patterns.
- Try mixing different nail art techniques like ombre, watercolor, or stamping to enhance your marble designs.
- Seal your marble nail art with a high-quality top coat to ensure long-lasting wear.
How to Incorporate Complex Patterns and Textures
Tips for honing your skills in creating complex patterns and textures in marble nail art include experimenting with layering techniques and incorporating 3D embellishments. By using tools like toothpicks or silicone brushes, you can add depth and dimension to your designs. Additionally, mixing matte and glossy finishes can create a visually captivating contrast on your nails.
Incorporating textures like glitter, foil, or velvet powder can add a luxurious touch to your marble nail art. By carefully layering these elements and sealing them with a top coat, you can create unique and eye-catching manicures that stand out.
Tips for Ensuring Long-Lasting Marble Nail Art
Advanced techniques for ensuring long-lasting marble nail art involve properly prepping your nails before application. This includes cleaning your nails, pushing back cuticles, and applying a base coat to prolong the wear of your design. Additionally, wrapping the tips of your nails with polish can help prevent chipping and peeling.
- Avoid exposing your marble nails to harsh chemicals or excessive moisture to maintain their longevity.
- Regularly replenish the top coat on your marble nail art to protect and preserve the design.
Patterns and textures play a crucial role in creating captivating marble nail art designs. By mastering advanced techniques and following expert tips, you can achieve salon-quality results at home. Experiment with different patterns, colors, and finishes to unleash your creativity and take your marble nail art to the next level.
Troubleshooting Common Issues
All nail artists encounter challenges along the way, but with the right knowledge and techniques, you can easily overcome them. If you’re looking to master the art of marble nail designs, check out this Easiest marble ever done step-by-step tutorial – #nailart for some inspiration.
How-To Fix Smudges and Imperfections
Common issues like smudges and imperfections can be frustrating, but fear not, there are simple solutions. If you accidentally smudge your design, wait for it to dry completely, then use a clean nail art brush dipped in nail polish remover to gently clean up the edges. For imperfections, you can easily cover them up by adding more layers to the design or using a fine-tipped brush to make corrections.
Another quick fix for smudges is to dip a q-tip in nail polish remover and carefully remove the excess polish without disturbing the rest of the design. Note, practice makes perfect, so don’t get discouraged by small mistakes. Keep refining your technique, and you’ll soon be creating flawless marble nail art designs.
Tips for Quick and Easy Clean-Up
Easy clean-up is key to achieving professional-looking marble nails. To make clean-up a breeze, keep a roll of masking tape or liquid latex handy. Before starting your design, apply the tape or latex around your nails to create a barrier that catches any excess polish. This simple step will save you time and effort in removing stubborn stains from your skin.
- Use a small makeup brush dipped in nail polish remover for precise clean-up around the cuticles.
- Wipe your tools clean between uses to prevent smudging or transferring colors unintentionally.
Recognizing when to clean up and address imperfections during the marble nail art process is vital for achieving a polished look. By following these tips and tricks, you’ll be able to troubleshoot common issues effectively and create stunning marble nail art designs with ease.
Aftercare and Maintenance
Protecting Your Marble Nail Art
Keep your marble nail art looking fresh and vibrant by taking some simple steps to protect it. Avoid using harsh cleaning chemicals that can dull or scratch the surface of your nails. When doing tasks that are rough on your hands, such as gardening or cleaning, be sure to wear gloves to protect your nails from damage.
It’s also a good idea to apply a clear protective top coat every few days to seal in the design and prevent chipping. This will help your marble nail art last longer and stay looking beautiful.
Tips for Longer-Lasting Wear
Marble nail art can last for a week or more with proper care. To ensure your design stays looking its best, avoid exposing your nails to prolonged periods of water as it can cause the design to break down faster. Additionally, try to avoid using your nails as tools to prevent unnecessary wear and tear.
Applying a layer of cuticle oil around the edges of your nails can help hydrate your nail beds and prevent the design from lifting. This simple step can make a big difference in extending the life of your marble nail art.
- Use gloves when doing household chores to protect your nails.
- Avoid exposing your nails to harsh chemicals to prevent damage.
- Apply a clear top coat every few days to seal in the design.
- Avoid using your nails as tools to prevent unnecessary wear and tear.
- Remember to reapply cuticle oil to keep your nails hydrated and prevent lifting.
Assume that by following these tips for longer-lasting wear, you can enjoy your stunning marble nail art for an extended period without needing to redo the design frequently.
Conclusion
Now that you’ve learned how to create stunning marble nail art designs the easy way, you can elevate your nail game to the next level. With a few simple tools and techniques, you can achieve professional-looking marble nails right at home. Get creative with different color combinations and patterns to personalize your nail art and make a statement. Follow these steps and unleash your creativity to achieve beautiful marble nails that will surely turn heads!
Easy Glitter Gradient Nail Art
FAQ
Q: What are the necessary tools and materials needed for creating marble nail art designs?
A: To create stunning marble nail art designs, you will need nail polish in various colors, a small cup of room temperature water, toothpicks or a thin brush for swirling the colors, nail polish remover for clean-up, and a top coat for sealing the design.
Q: What is the best technique for creating marble nail art designs?
A: The easiest way to create marble nail art designs is by using the water marbling technique. Simply drop nail polish into a cup of water, swirl the colors together, then dip your nails into the design. It creates a beautiful and unique marble effect effortlessly.
Q: How can I ensure the longevity of my marble nail art designs?
A: To make your marble nail art designs last longer, be sure to apply a base coat before starting the design to protect your natural nails. After creating the marble effect, seal it with a top coat to prevent chipping and increase the longevity of the design.
Q: Can beginners create stunning marble nail art designs as well?
A: Yes, beginners can definitely create stunning marble nail art designs with practice and patience. Start with simple color combinations and gradually experiment with more intricate designs. The key is to have fun and enjoy the creative process.
Q: Are there any tips for troubleshooting common issues when creating marble nail art designs?
A: If you encounter problems such as air bubbles in the design, smudging of colors, or uneven patterns, try using fresh nail polish that is not too thick or too thin. Avoid using quick-drying nail polishes, and if needed, practice on a nail wheel before applying the design to your nails.