There’s nothing quite like a touch of sparkle to elevate your nail game to the next level. If you’re looking to add some glamour to your nails, then glitter gradient nail art designs are the way to go. This easy yet stunning technique allows you to create a beautiful transition of glitter from light to dark shades, giving you a sophisticated and eye-catching manicure. In this blog post, we’ll guide you through the steps to achieve this glamorous look effortlessly, so get ready to dazzle with your glitter gradient nails!
Preparing Your Nails
Cleaning and Shaping Your Nails
The key to a flawless manicure begins with properly cleaning and shaping your nails. Start by removing any old polish with acetone-free nail polish remover. This will ensure a clean canvas for your glitter gradient design. Next, trim and shape your nails to your desired length and shape using a nail file. Whether you prefer square, round, or almond-shaped nails, make sure they are all uniform for a polished look.
After shaping, gently push back your cuticles using a wooden cuticle stick. Avoid cutting them, as this can lead to infection and damage. Hydrate your hands and nails with a nourishing cuticle oil to keep them moisturized and healthy.
Base Coat Application Tips
Before venturing into the glamorous world of glitter gradient nail art, your nails need a sturdy foundation. Applying a base coat not only protects your nails from staining but also helps the glitter polish adhere better. Choose a clear base coat that is specifically formulated to make your manicure last longer.
Apply a thin layer of base coat to each nail, ensuring to cover the entire surface. Allow it to dry completely before proceeding with your glitter gradient design. Do not forget, a well-prepped nail surface will result in a smoother and longer-lasting manicure.
- Thou shalt not rush the base coat application process, as it is crucial for a durable and flawless manicure.
With these important steps completed, your nails are now ready to shine with dazzling glitter gradient designs. Stay tuned for the next chapter where we will explore the art of creating stunning gradients on your nails!
Creating the Perfect Glitter Gradient
Selecting Glitter Polishes and Tools
Assuming you have decided to try your hand at creating a dazzling glitter gradient nail art design, the first step is to select the right glitter polishes and tools. For a gradient effect, you will need at least two different shades of glitter polish – one lighter and one darker shade to create depth and dimension in your design.
Make sure to choose glitter polishes that have a smooth consistency and fine glitter particles for a seamless blend. Additionally, you will need makeup sponges or nail art sponge applicators to aid in creating the gradient effect on your nails.
Step-by-Step Gradient Technique
Assuming you have gathered your glitter polishes and tools, it’s time to look into the step-by-step gradient technique. Perfecting the gradient effect requires a steady hand and a bit of patience, but the results are well worth it. Follow the steps below:
| Step 1 | Apply a base coat to protect your nails and allow it to dry completely. |
| Step 2 | Apply the lighter shade of glitter polish to the base of your nails. |
For the perfect glitter gradient effect, it’s crucial to blend the colors seamlessly. This technique involves applying layers of glitter polish and dabbing with a sponge to create a smooth transition from one color to the next.
Tools
| Glitter Polishes | Select at least two shades: a lighter and a darker glitter polish. |
| Tools | Makeup sponges or nail art sponge applicators for creating the gradient effect. |
Design Variations and Ideas
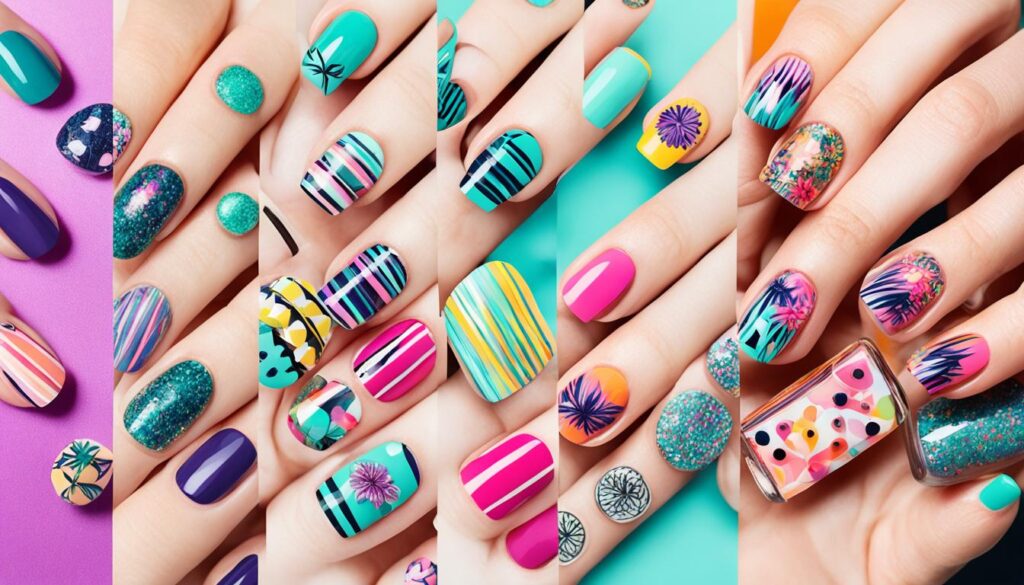
To achieve a glamorous look with glitter gradient nail art, there are various design variations and ideas that you can explore. By experimenting with different color combinations, seasonal themes, and incorporating additional nail art techniques, you can elevate your nail art game to the next level.
Color Combinations and Seasonal Themes
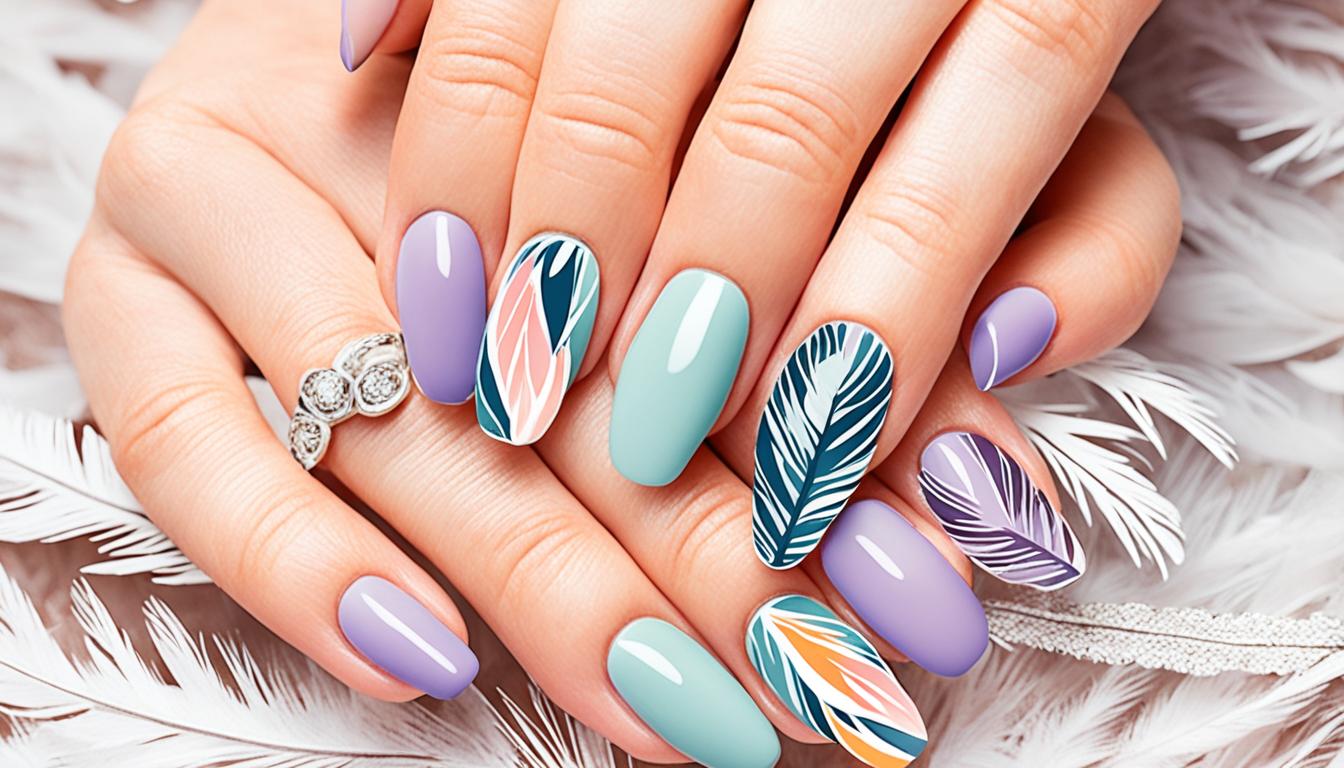
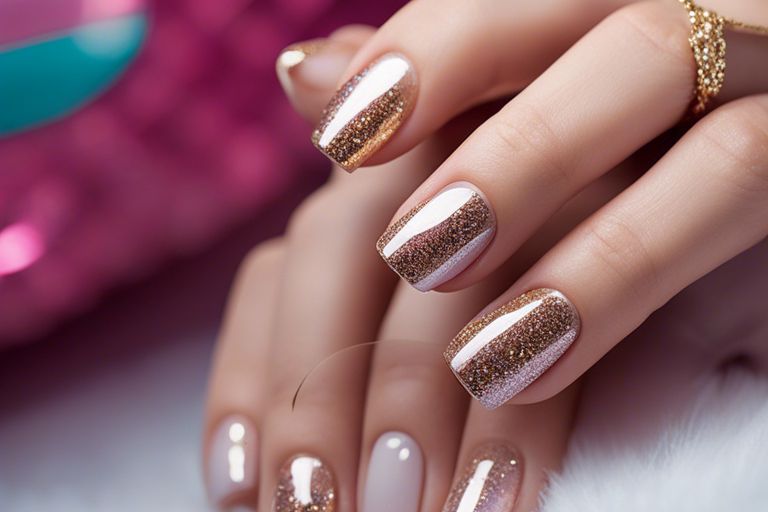
On the journey to creating stunning glitter gradient nail art designs, the choice of color combinations plays a crucial role. You can opt for classic combinations like silver and white for a timeless look, or go bold with combinations like black and gold for a dramatic effect. Additionally, you can draw inspiration from seasonal themes by choosing colors that reflect the spirit of the season. For example, pastel shades for spring, vibrant hues for summer, warm tones for fall, and icy tones for winter.
On the other hand, incorporating seasonal themes into your glitter gradient nail art allows you to stay current and add a fun twist to your overall look. Experiment with glitter in different shapes and sizes to mimic falling snowflakes in winter, or create a beach-inspired gradient with shades of blue and gold for summer. The possibilities are endless when it comes to combining color choices with seasonal themes to create unique and eye-catching designs.
Incorporating Additional Nail Art Techniques
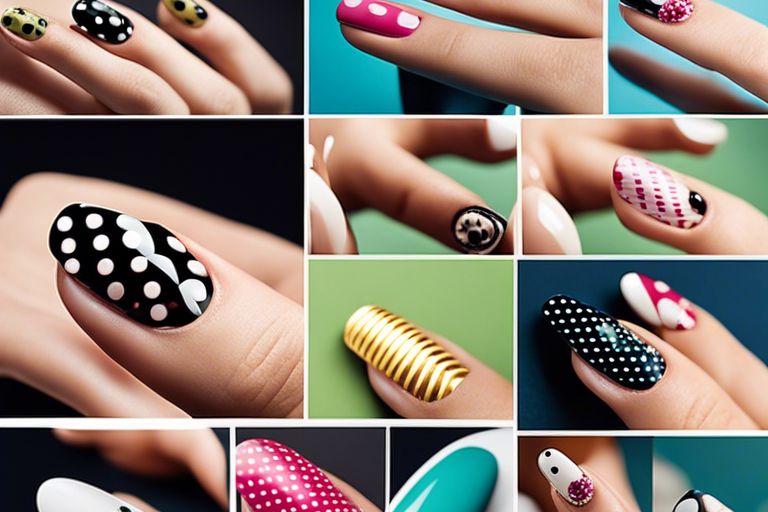
Variations in glitter gradient nail art can also be achieved by incorporating additional nail art techniques. From ombre effects and marbling to using stencils and brushes, there are several ways to elevate your glitter gradient design. Adding rhinestones, pearls, or hand-painted designs can create a more intricate and detailed look. Experimenting with different textures and finishes, such as matte top coats or glossy finishes, can also enhance the overall aesthetic of your nail art.
Maintenance and Aftercare
Now, if you’ve just adorned your nails with a stunning glitter gradient design, it’s crucial to ensure they stay looking fabulous for as long as possible. To keep your nails in tip-top condition and maintain the sparkle, follow these maintenance and aftercare tips. For more inspiration, check out 27 Glitter Nail Designs and Ideas for Sparkly Nails in 2023.
Protecting Your Glitter Gradient Design
Aftercare for your glitter gradient design involves taking certain precautions to prevent chipping or dulling of the design. Apply a top coat every few days to seal in the glitter and add an extra layer of protection. Avoid using your nails as tools, as this can cause the glitter to chip or peel off. Additionally, wear gloves when doing household chores or tasks that may expose your nails to harsh chemicals.
To further protect your glitter gradient nails, moisturize your hands and cuticles regularly. Dry skin and cuticles can detract from the overall appearance of your nail art. By keeping your hands hydrated, you can help maintain the longevity of your glittery design and keep your nails looking glamorous.
Safe Removal of Glitter Nail Polish
One common issue with glitter nail polish is that it can be stubborn to remove. To safely remove your glitter gradient nail polish, start by saturating a cotton ball with nail polish remover and holding it on each nail for a few seconds to allow the polish to dissolve. Then, gently swipe the cotton ball in the direction of the nail bed to avoid damaging the nail surface. Repeat this process until all traces of the glitter polish are gone.
Gradient nail designs can be tricky to remove, but with patience and the right technique, you can successfully take off the polish without damaging your nails. Avoid picking or scraping at the polish, as this can weaken your nails and cause them to become brittle. Remember to nourish your nails with a hydrating cuticle oil or nail strengthener after removal to keep them healthy and strong.
Final Words
On the whole, mastering the art of glitter gradient nail designs can transform your nails into a glamorous statement piece that will undoubtedly turn heads. With just a few easy steps and some glitter polishes, you can achieve a mesmerizing and eye-catching look that is perfect for any special occasion or for adding a touch of sparkle to your everyday style. Let your creativity flow and experiment with different color combinations and techniques to create your unique and stunning glitter gradient nail art designs. Embrace the glitter, embrace the glam!
Are You Ready To Take Your Nail Art Game To The Next Level In 2024?
FAQ
Q: What is a glitter gradient nail art design?
A: A glitter gradient nail art design is a manicure technique where glitter is used to create a fading effect on the nails, starting with a heavy application of glitter at the base and gradually fading out towards the tips.
Q: How can I create a glitter gradient nail art design?
A: To create a glitter gradient nail art design, you will need a base color polish, a glitter polish, a makeup sponge, and top coat. Start by painting your nails with the base color. Then, apply the glitter polish to the sponge and dab it onto the base of your nails, gradually moving towards the tips to create the gradient effect. Finish with a top coat to seal in the design.
Q: What type of glitter polish works best for a gradient nail art design?
A: Fine or chunky glitter polish can both be used to create a gradient nail art design, depending on the look you want to achieve. Fine glitter will create a more subtle gradient, while chunky glitter will provide a more dramatic effect.
Q: How can I make my glitter gradient nail art design last longer?
A: To make your glitter gradient nail art design last longer, be sure to apply a base coat before painting your nails and a top coat after applying the design. This will help seal in the polish and prevent chipping. Also, avoid exposing your nails to harsh chemicals or excessive water to maintain the longevity of your nail art.
Q: Are there any tips for perfecting a glitter gradient nail art design?
A: Some tips for perfecting a glitter gradient nail art design include using thin layers of polish to build up the gradient effect, being patient with the drying process between layers, and cleaning up any excess glitter around the cuticles with a small brush dipped in nail polish remover. Practice and experimentation will also help you achieve the desired look for your glitter gradient nail art design.